As someone new to 3D design, I was presented with an unexpected yet exciting opportunity: to create a full 3D
character model for a project under a strict 10-day deadline. It was a high-stakes challenge that tested both my
technical skills and my ability to learn quickly under pressure.
When I started this project, I was completely new to 3D design. I was given the opportunity to work on a full 3D
character—an exciting yet daunting task. The timeline was incredibly tight: I had just 10 days to complete the
entire character from scratch.
It was a major challenge for me, but also a turning point. With limited experience and a steep learning curve ahead,
I committed to giving it my all. I knew it would require fast learning, long hours, and a lot of problem-solving—but
I was ready to dive in.
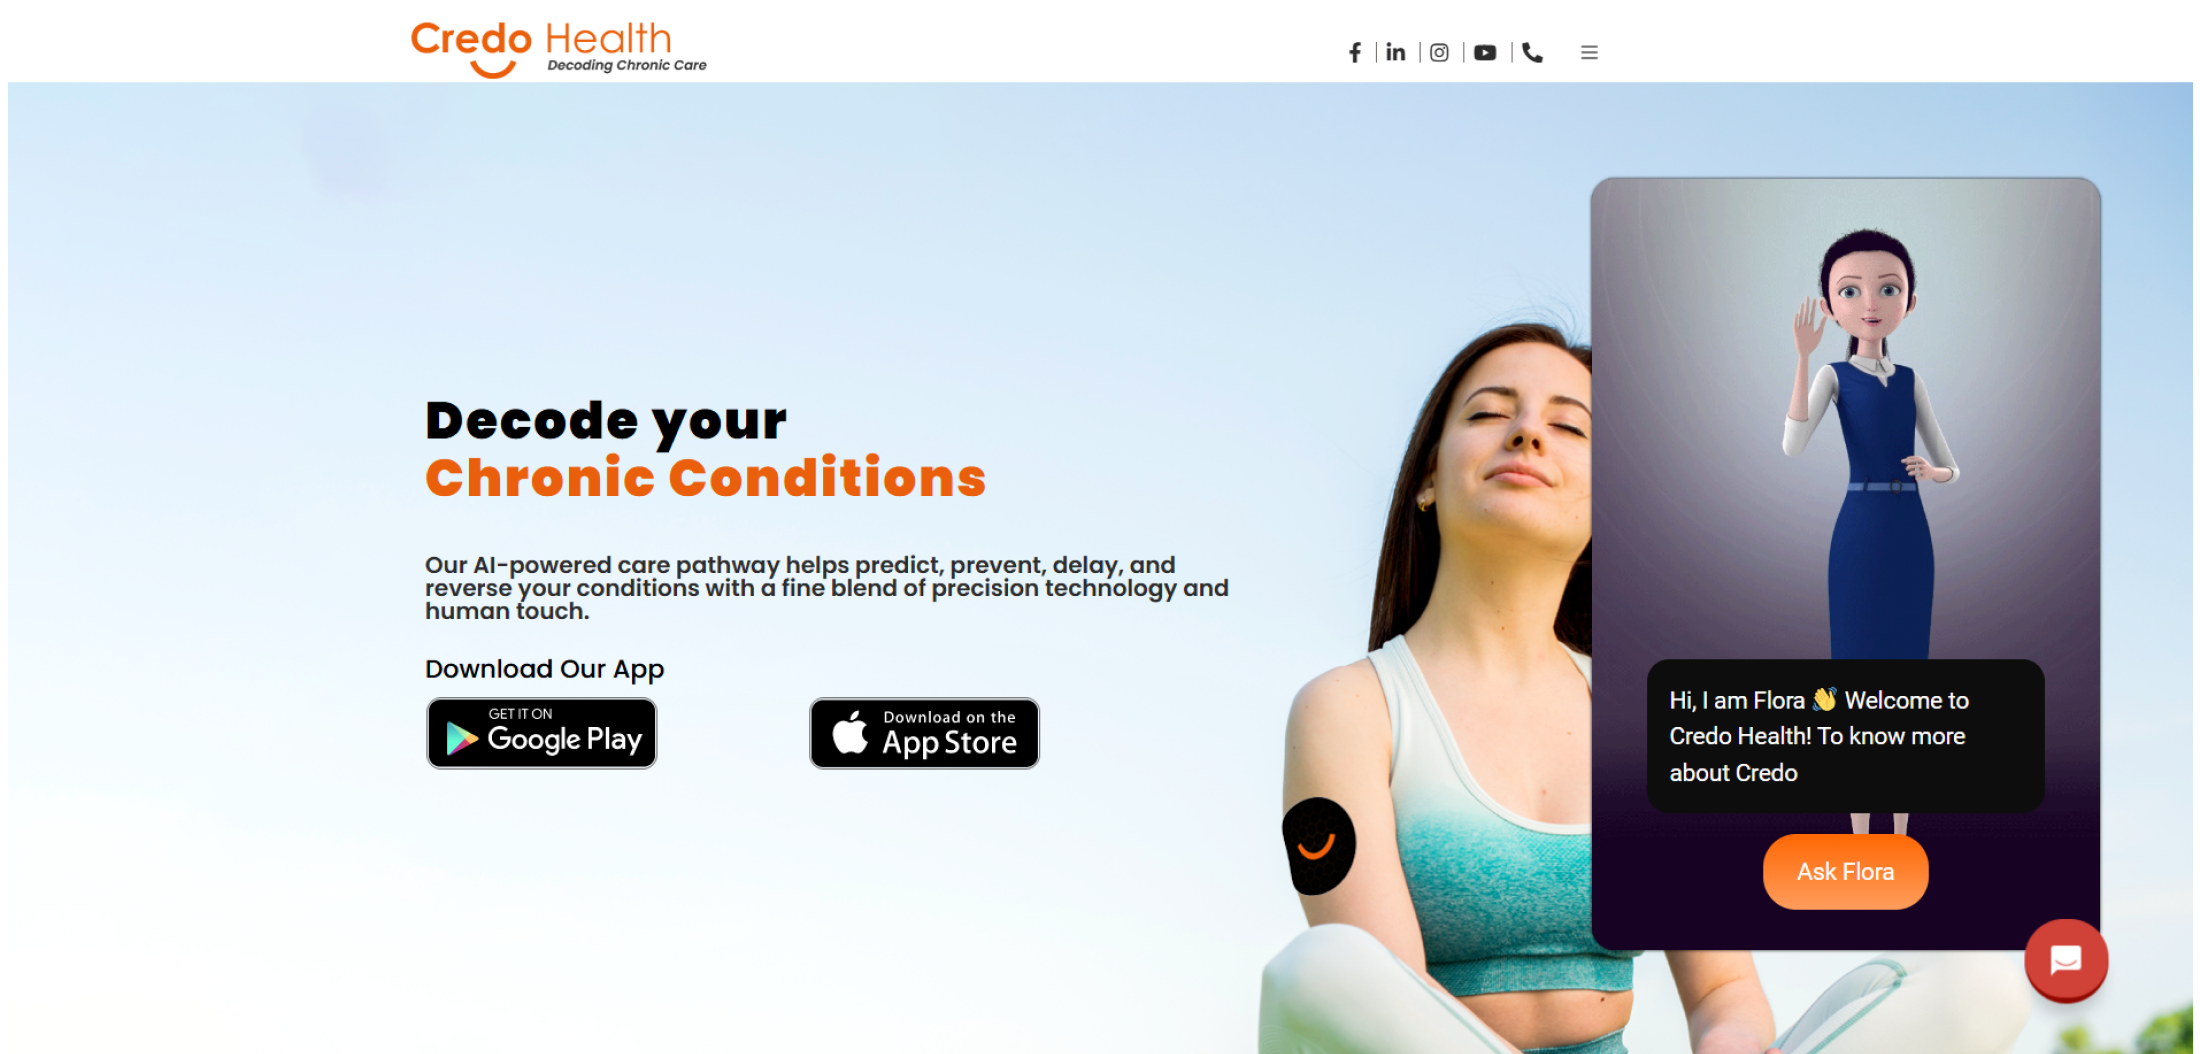
My goal was to create a cute, friendly female character that could represent a chatbot. I began by searching
for inspiration—looking at various character references, styles, and personalities that would feel approachable,
modern, and engaging for users.
After reviewing several concepts, I selected a design direction that balanced charm and simplicity—perfect for a
digital assistant. This gave me a clear creative vision and helped guide every decision through the modeling process.
The biggest hurdle was my own inexperience—I had only recently started learning the basics of 3D design. On top of that, the timeline was extremely tight for such a detailed task. I needed to go from concept to a completed, production-ready character model in just over a week.
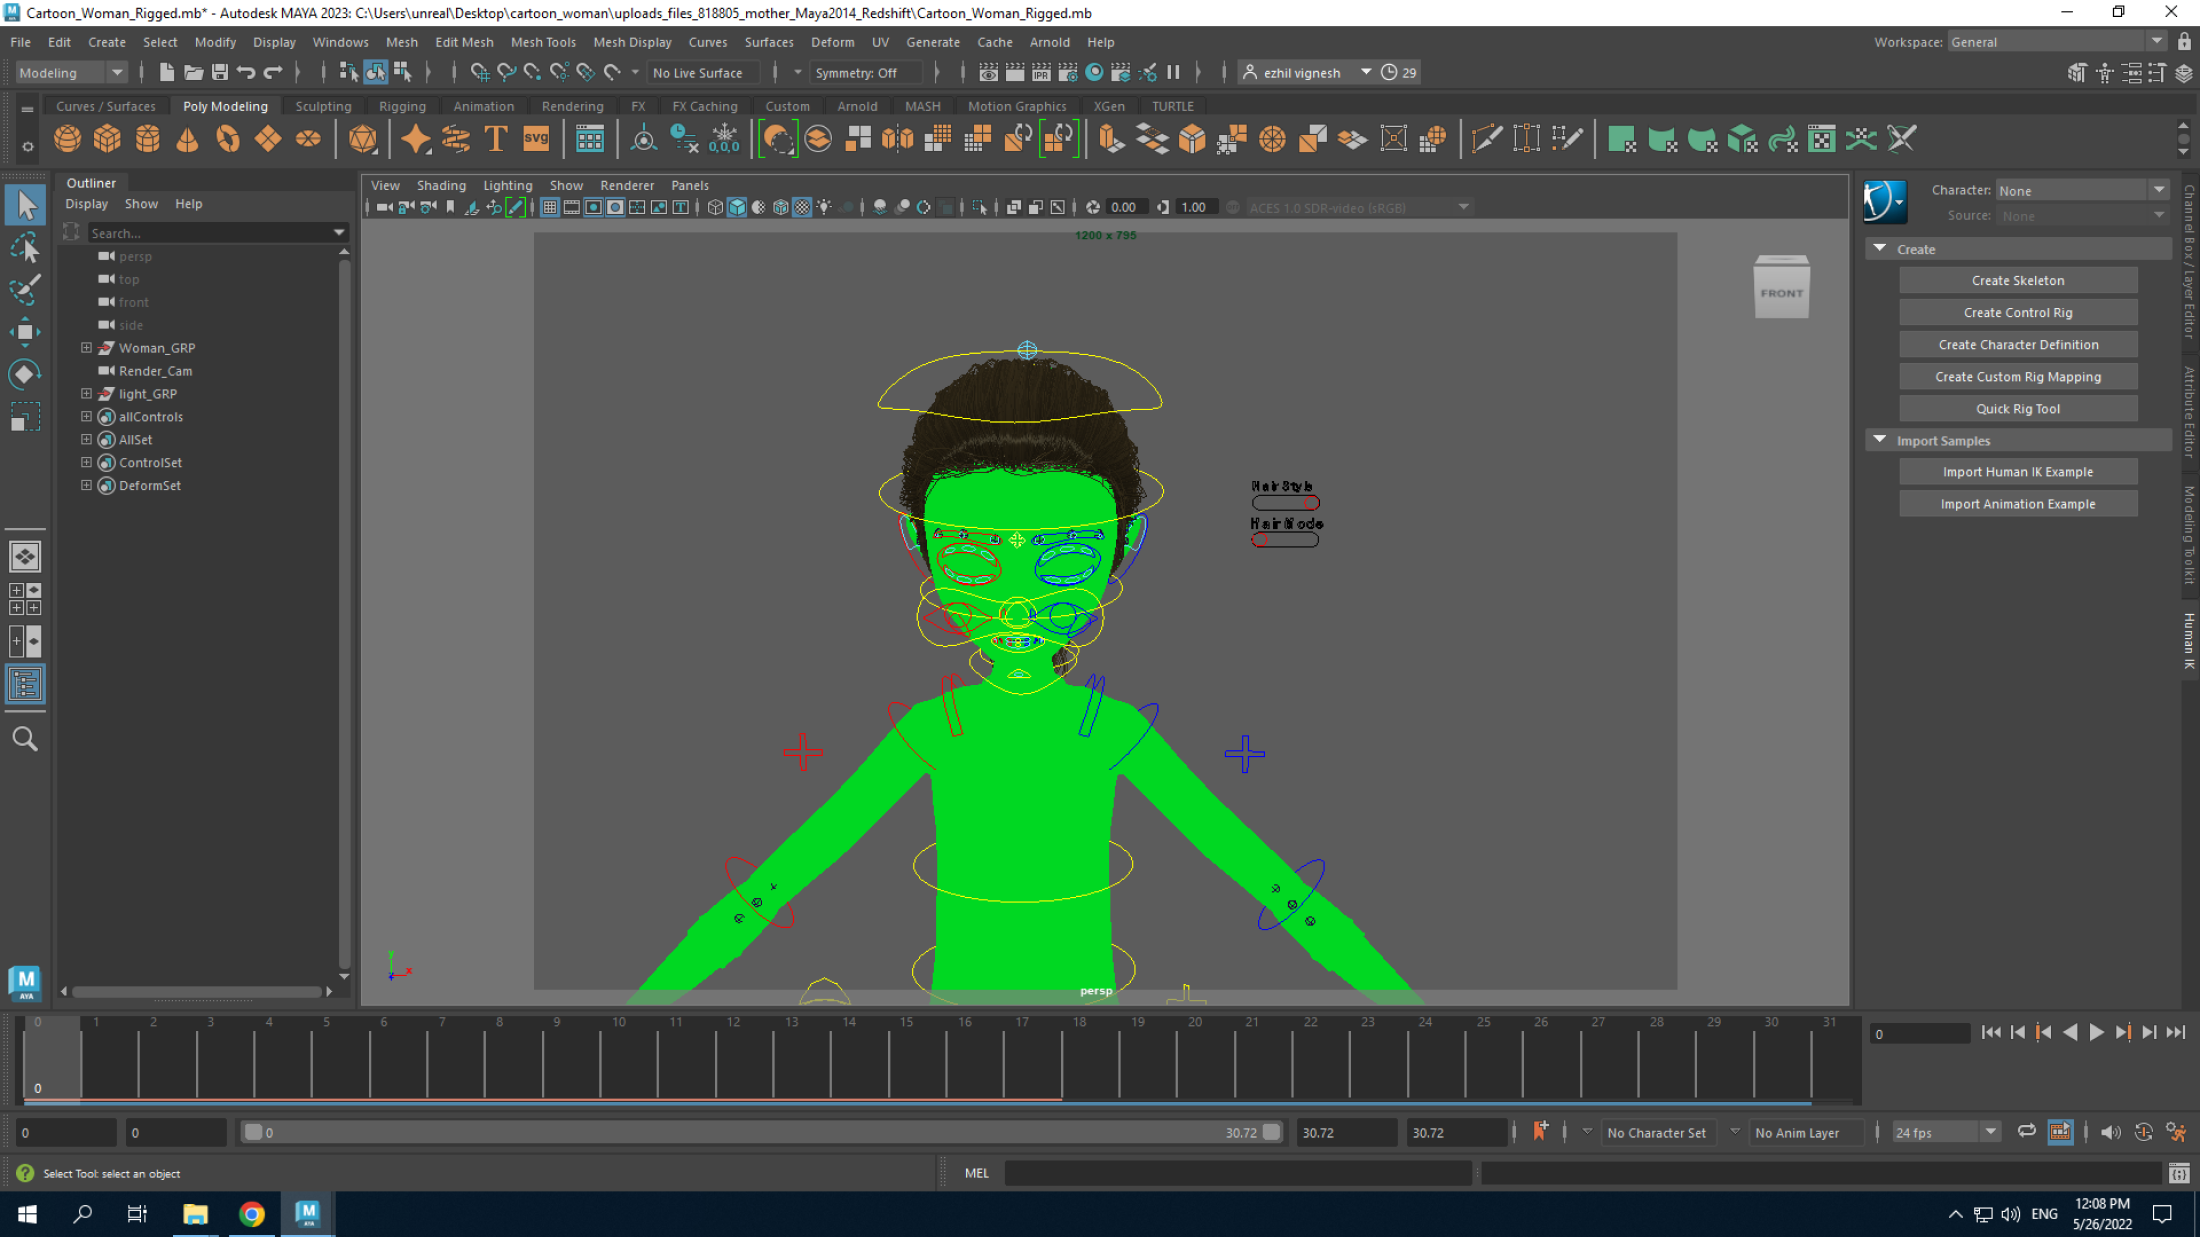
The rigging process proved to be one of the most time-consuming parts of the project. As a beginner, setting up a
functional and clean rig was a steep learning curve. I faced multiple issues with weight painting, joint placement,
and deformation, but I experimented with different methods and followed several tutorials to get it right.
Once rigged, I moved on to rendering, which came with its own set of challenges. Achieving high-quality output while
managing render time was tough. I tested multiple lighting setups, materials, and render settings in [software you
used [e.g., Blender’s Cycles or Eevee], constantly balancing between quality and efficiency.
Despite the obstacles, I was able to produce polished, high-resolution renders that showcased the character’s personality
and detail—an accomplishment that felt especially rewarding after such a steep learning curve.
Despite the initial pressure, I delivered the character on time. More importantly, the project became a
turning point in my learning journey. I gained hands-on experience with the full 3D workflow, from modeling
and texturing to optimization. The end result exceeded initial expectations and helped build my confidence as a 3D artist.
After reviewing several concepts, I selected a design direction that balanced charm and simplicity—perfect for a
digital assistant. This gave me a clear creative vision and helped guide every decision through the modeling process.